Feature:
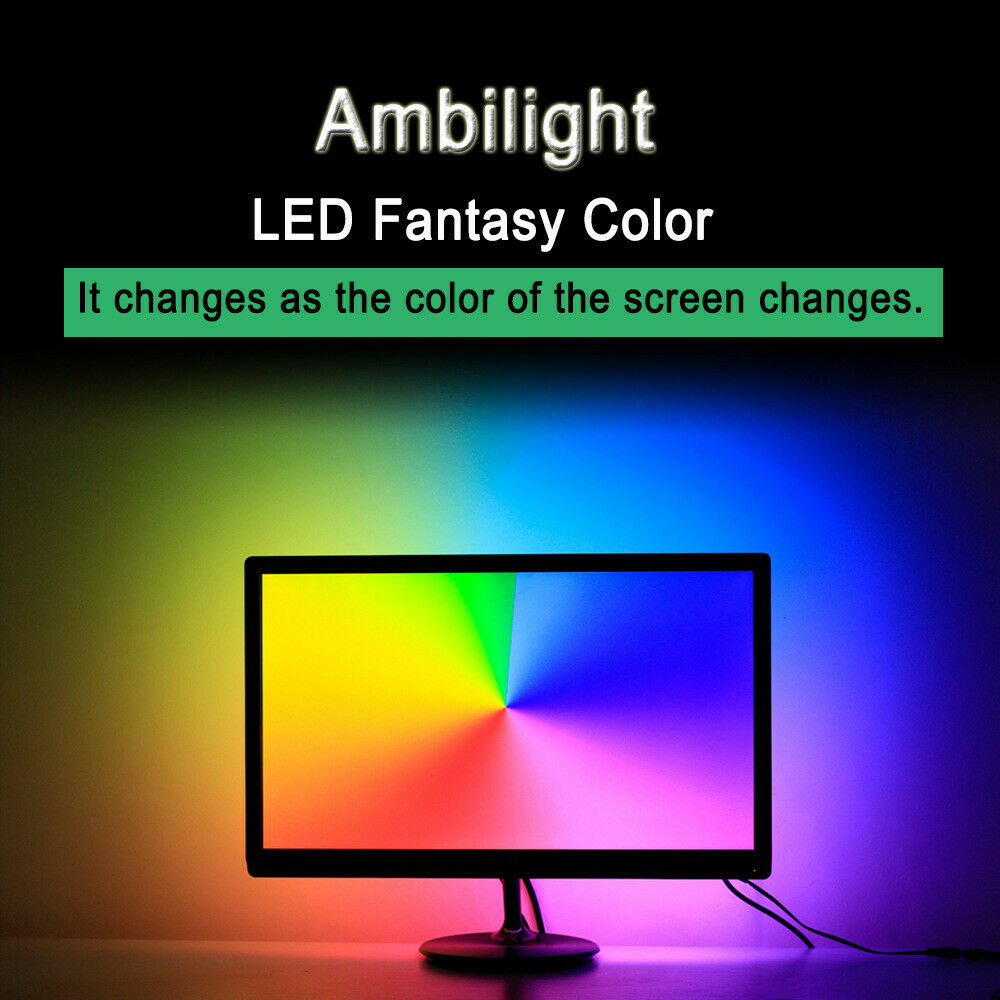
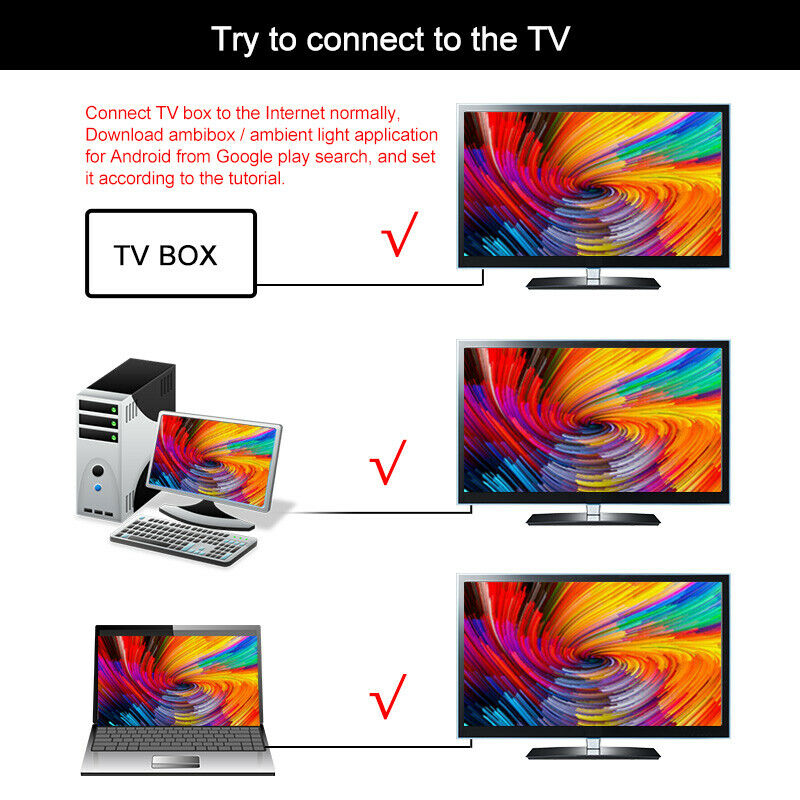
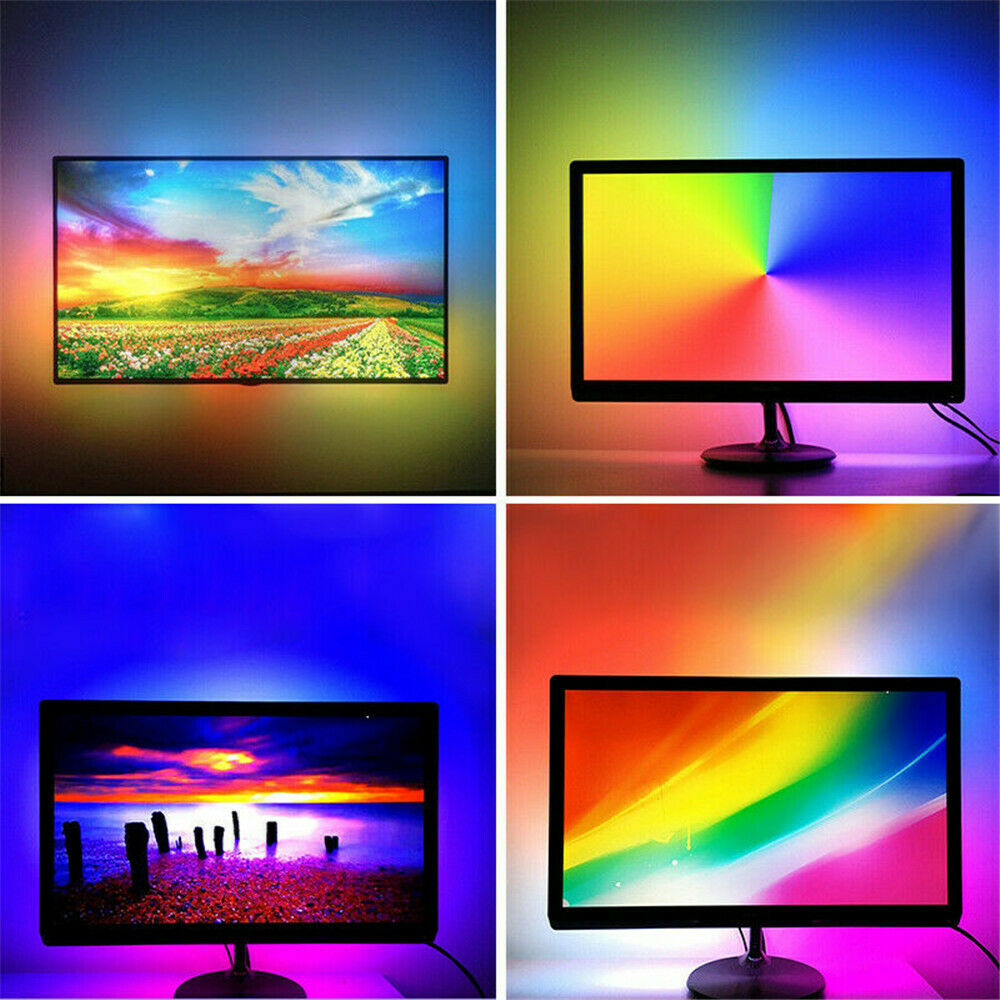
● Amazing USB backlight system for your displays, working with your PC/TV to watch movies, play games or daily working.
● Adds ambient backlight effects to Computer or laptop compliment on-screen video content.
● Dynamically adjusts elements such as color and brightness to create a more immersive multimedia experience.
The lighting features:
-Color balance setting for each LED strip separately.
-Individual adjustable capture area for each LED strip.
-Overall average color for all areas calculation mode.
-Permanent backlight (lamp) mode.
-Capture from video.
-Capture from games (GDI, DirectX 10/11)
Specification:
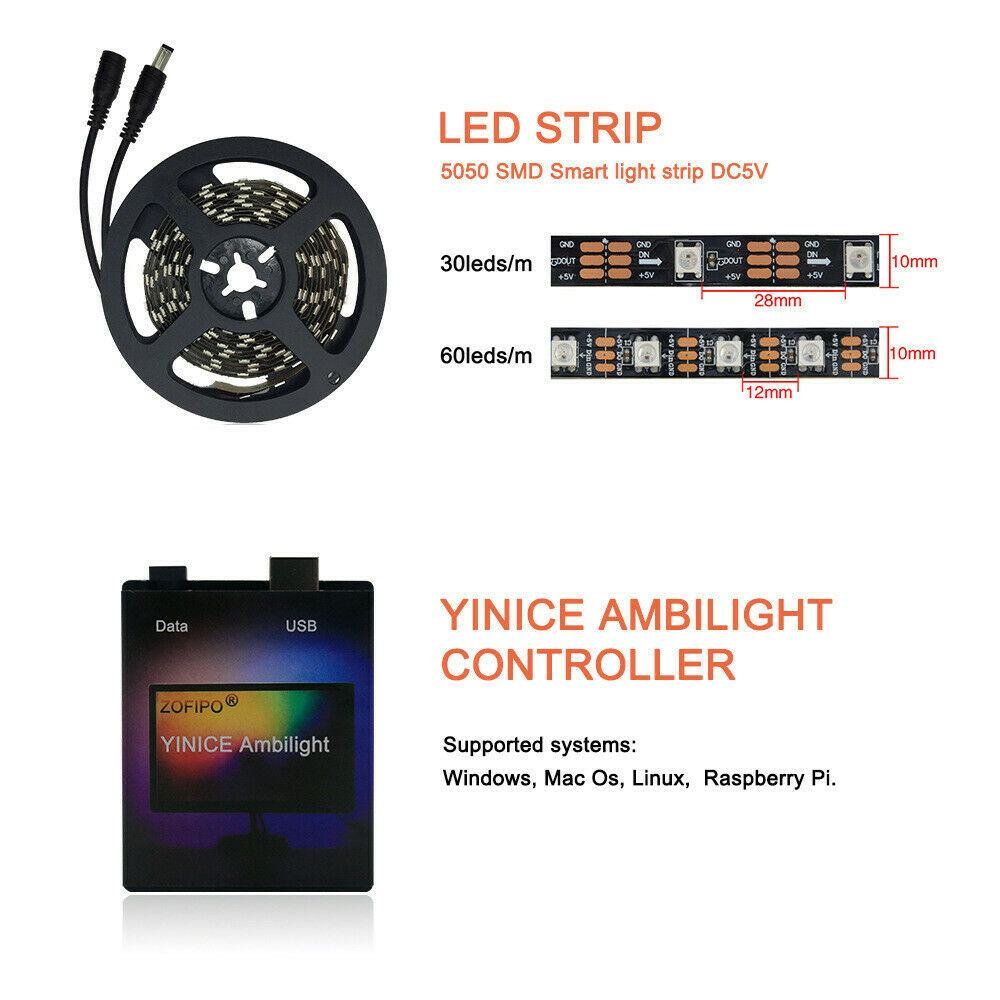
Name: Ambilight TV PC USB LED Strip
Shell Material: PC
Input Voltage: 5V
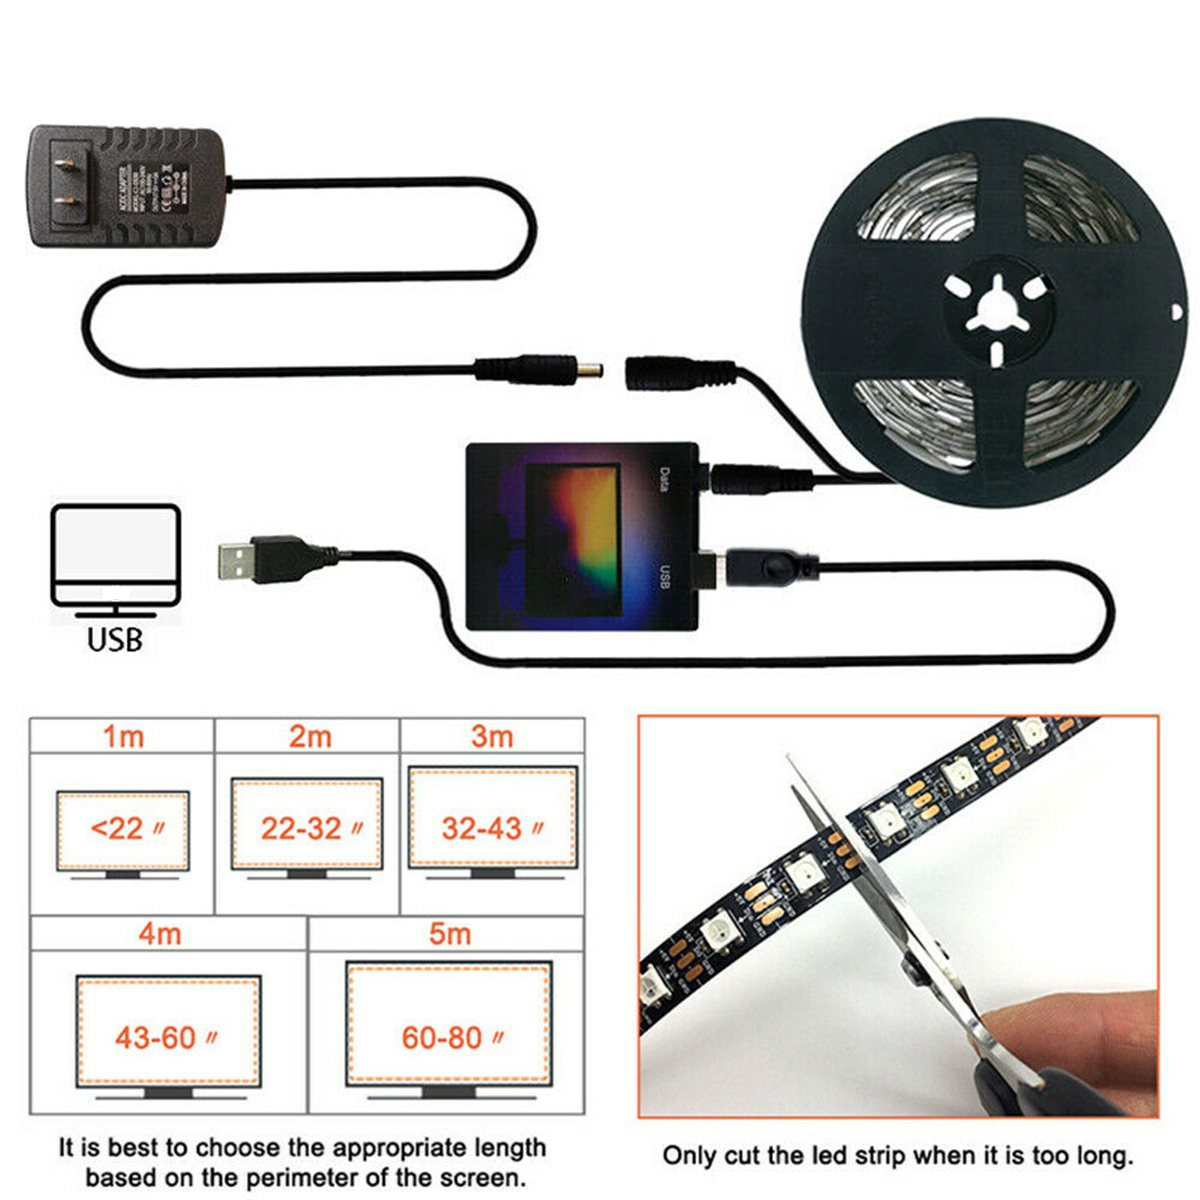
Size: 1/2/3/4/5M
Plug: EU Plug
LED: 60LEDs/meter
Package included:
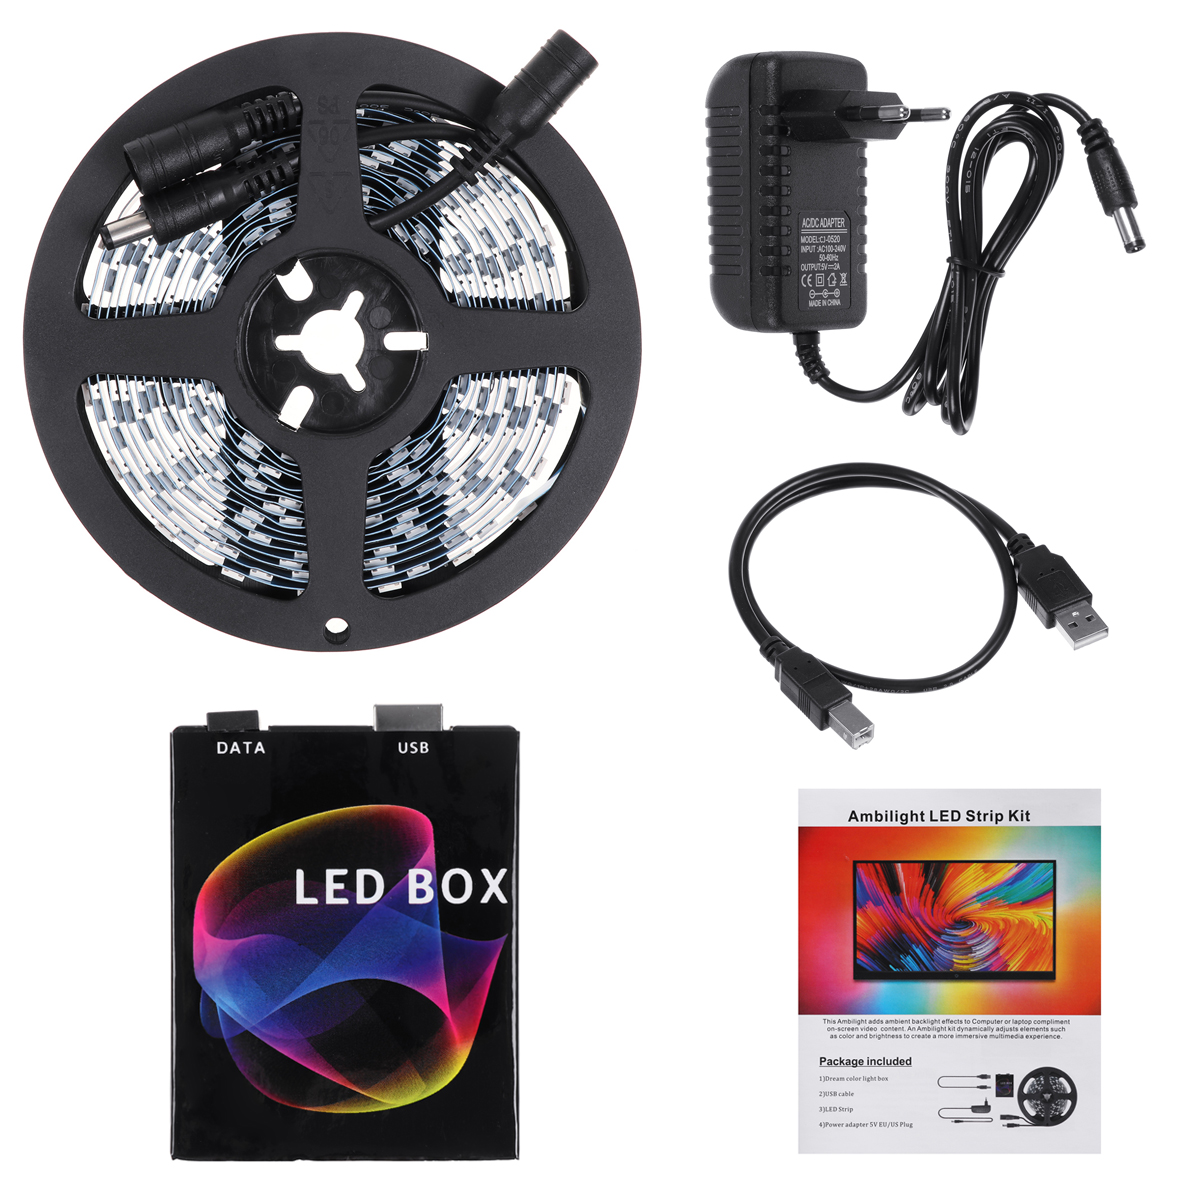
1x Dream color light box
1x USB cable
1x LED Strip
1x Power adapter
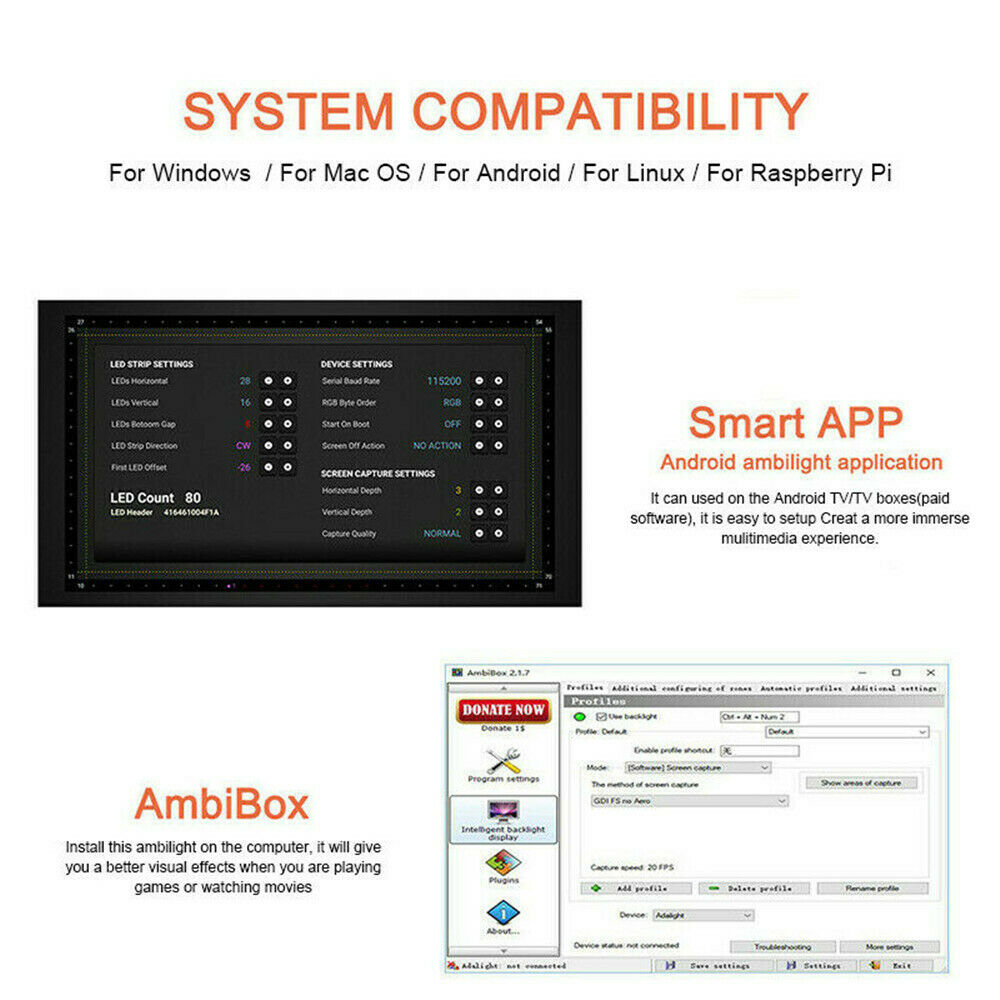
What software is needed?
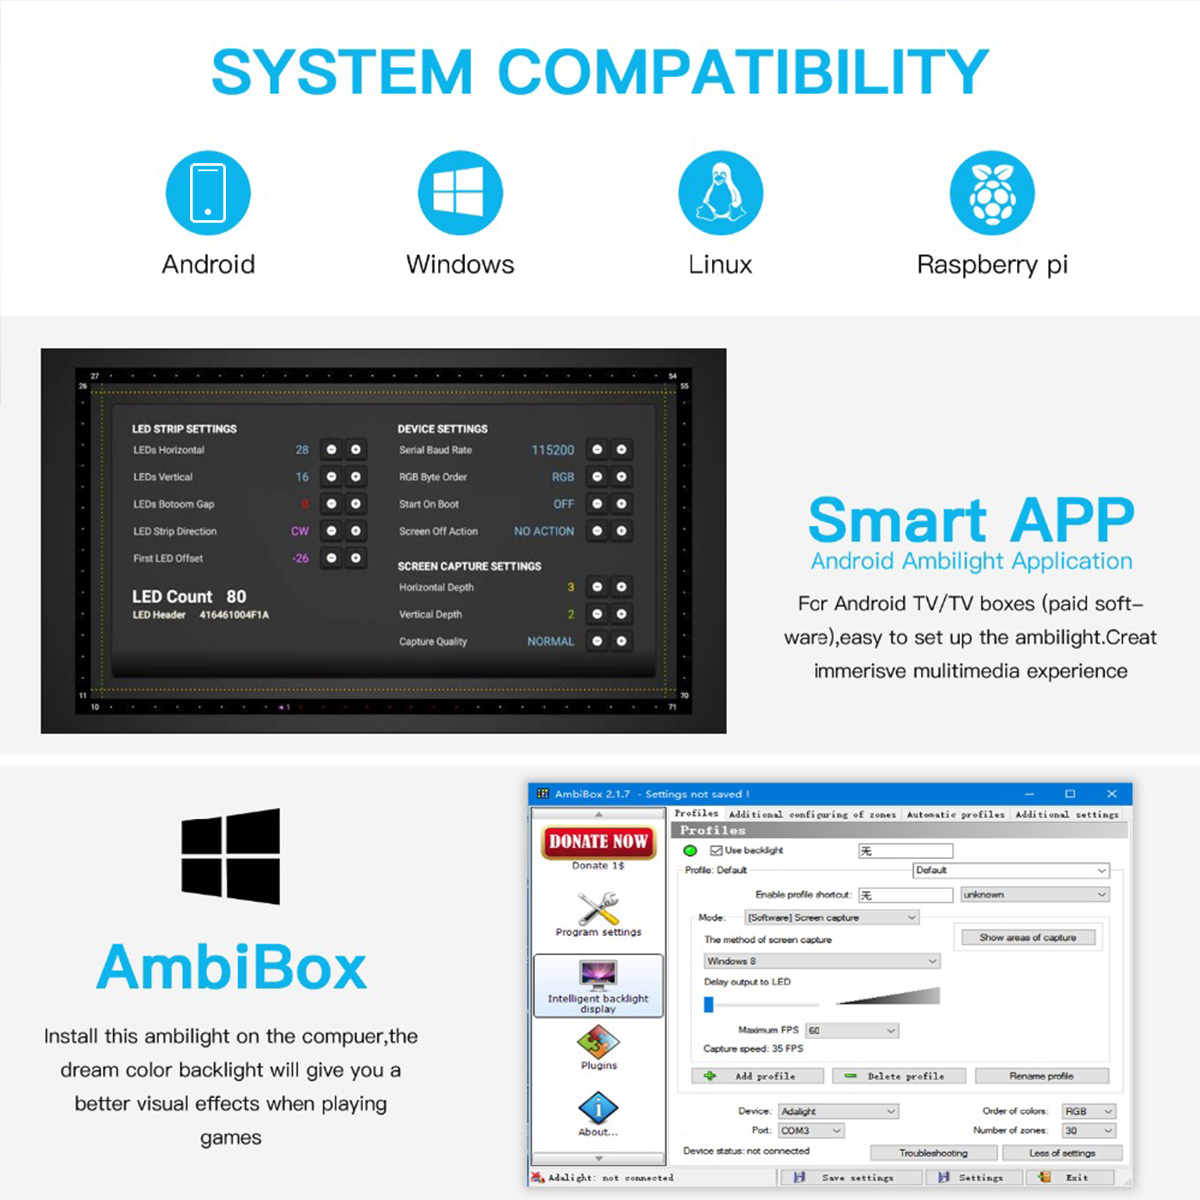
Windows: Ambibox or Prismatik
Os/Linux: Prismatik
Ambibox download:
https://www.ambibox.ru/en official website, view settings and download
Attention:
The led strip only work properly after installation on TV or PC. If only few led light up.Itrsquos not quality problem!
Please check the installation and setting. Please follow the Instruction to set up the strip kit.
Setting up the Ambibox Capture Software.
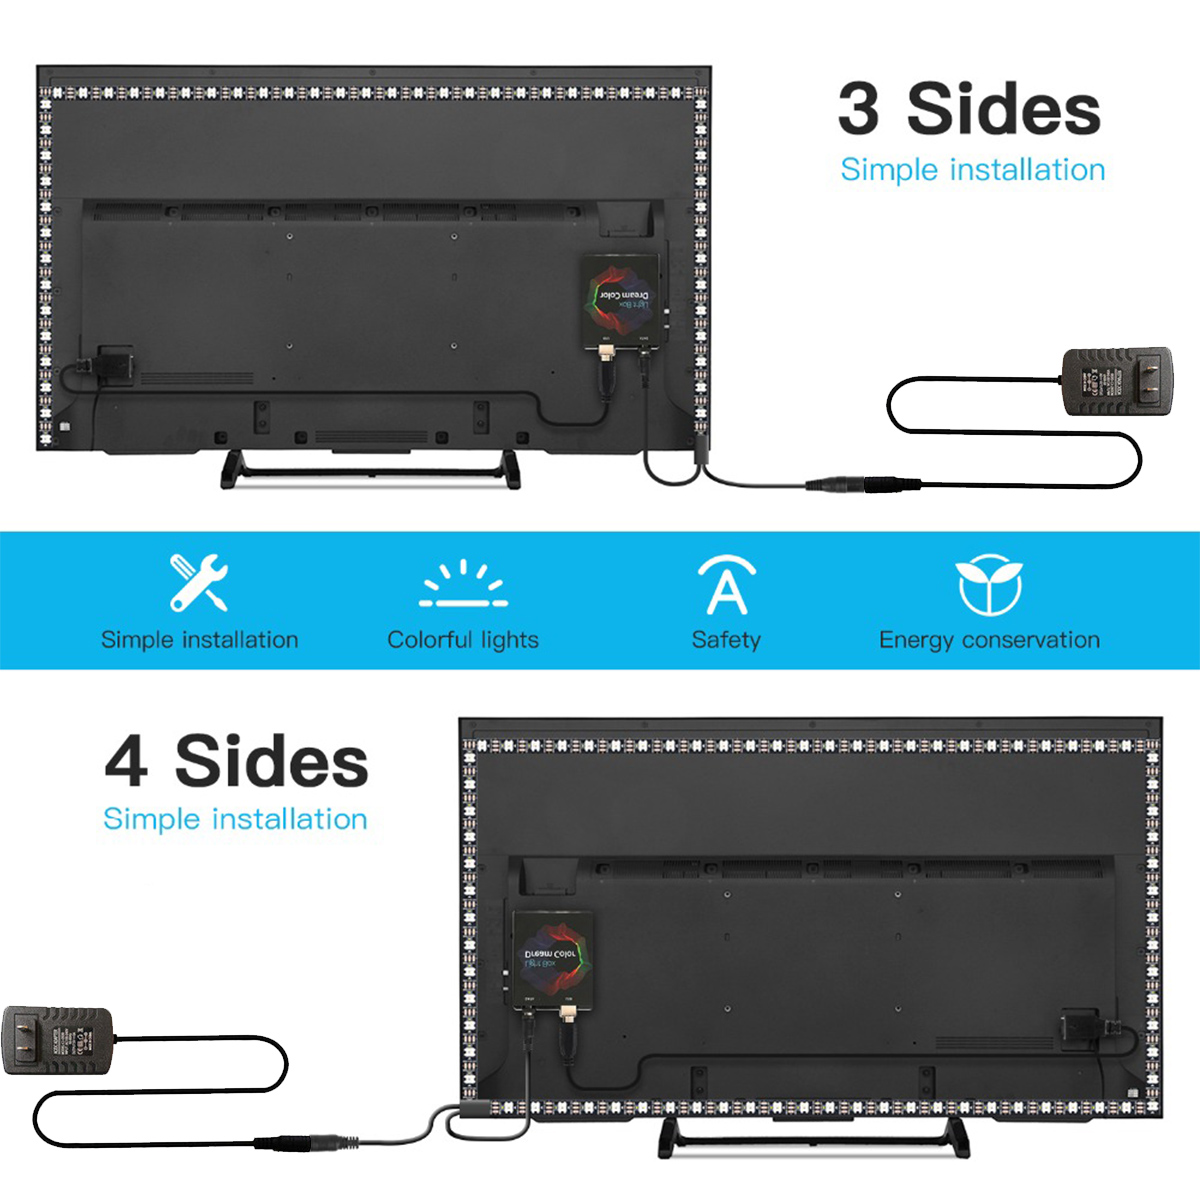
Step 1: Install LED light on your PC.
Step 2: Setting up the Ambibox Capture Software.
2.1. Ambibox software(Shareware);
2.2. Run the Ambibox software, when installing, it recommends to use PlayClaw, I wouldn't recommend to using it.
2.3. Select device and set this as "Adalight", under menu of "Intelligent backlight display", select the Port and the COM Port that your device has been detected.if you're unsure have a look in device manager. If select correctly, you can see Device Status: Connected, also down the bottom left it will say Adalight: connected.
Note: The USB Port should be CH340(COM*),if not have ,please download the CH340 Driver:
2.4. In here you can also select you capture method I suggest PlayClaw. Now under number of zones select the number of IC's you have, and it will be one IC for every LED.
Once you setted up, you can select the "Wizard capture zones" which will automatically generate all capture zones for you.
Save your settings and now you should be able to give it a test!
Detail pictures:

